Registering an Advanced Space Address
A folder in the Advanced Space, which is opened as an SMB or WebDAV server, can be registered as a destination in the Address Book.
To send to an Advanced Space, it must be opened externally as an SMB server or WebDAV server in advance. You can also manage authentication for the users of the Advanced Space. For information on the settings for using an Advanced Space, see "Advanced Space/Network Settings" (Scan and Store) and "Advanced Space/Network Settings" (Access Stored Files).
1.
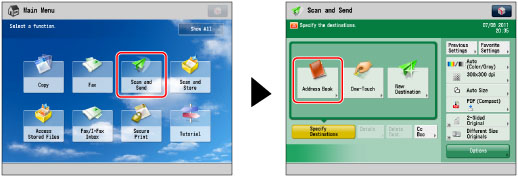
Press [Scan and Send] → [Address Book].
2.
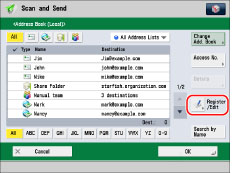
Press [Register/Edit].
3.
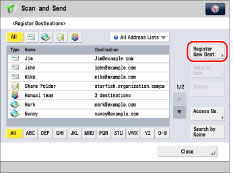
Press [Register New Dest.].
4.
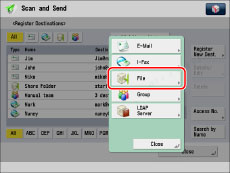
Press [File].
5.
Press [Name].
6.
Enter a name for the file server → press [OK].
|
NOTE
|
|
The first character that you enter for the name is used for sorting the destination list when you press keys, such as [ABC], [DEF], and [GHI], on the Address Book screen. If [Search by Name] is pressed on the Address Book screen, a screen for narrowing the search in the Address Book appears.
|
7.
Press the drop-down list → select an address list from Address List 1 to 10.
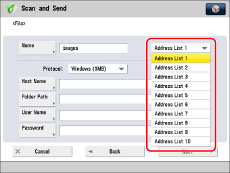
Address lists are a convenient way to classify destinations.
8.
Press the <Protocol:> drop-down list → select the protocol.
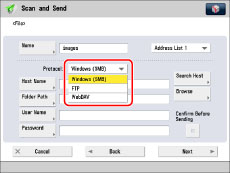
Select [Windows (SMB)] or [WebDAV].
|
IMPORTANT
|
|
To save files in the Advanced Space of an imageRUNNER ADVANCE machine with an imagePASS attached, select [WebDAV]. (Windows (SMB) cannot be used.)
|
9.
Specify each setting.
For details on the settings, see step 4 of "Storing in an Advanced Space."
If you try to send a document to an Advanced Space for which [Confirm Before Sending] is set to 'On', a screen prompting you to enter the password appears each time.
If you want to register an Advanced Space in a group address, set [Confirm Before Sending] to 'Off'. You cannot send to a group address including an Advanced Space for which [Confirm Before Sending] is set to 'On'.
|
NOTE
|
|
If you specify the destination that you set to 'On' for [Confirm Before Sending] as the forwarding destination, the screen to enter the password does not appear. The registered password is used and forwarding is performed.
|
10.
Press [OK].
If you are managing Address Book access numbers, perform the procedure in step 11 of "Registering an E-Mail Address."
11.
Press [Close] → [OK].
|
IMPORTANT
|
|
If you set [Language/Keyboard Switch On/Off] to 'On', the host name and folder path of the file server destination may not appear correctly, and you may not be able to browse them.
|