Installing the MF Drivers and MF Toolbox
|
See "Attention (MF Drivers and MF Toolbox)" in advance.
|
 |
If you are using the machine in an IPv6 environment, you cannot use the MF Drivers or MF Toolbox.
|
|
|
If you are using the machine in an IPv6 environment, you cannot use the Scan function.
|
If the computer you are installing the drivers in is running a 64-bit operating system, download the 64-bit version drivers from the Canon web site.To install the software, perform the following operations:
1. Decompress the downloaded file.
2. Double-click the [Setup.exe] file to start the installer.
3. Follow the instructions on the screen.
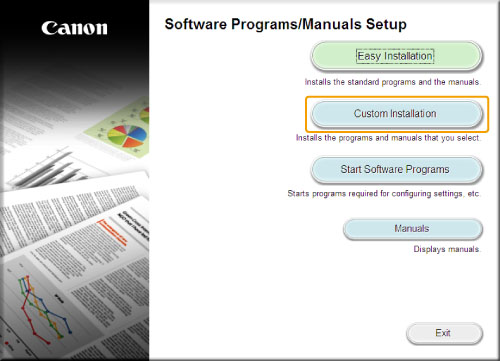
Install the software required to use the machine.
There are two methods of installation. The default installation method is [Easy Installation].
If you want to install the following software or manuals that are not installed in [Easy Installation], install them using [Custom Installation].
e-Manual
Installing with [Easy Installation]
1
Insert the User Software CD-ROM into the computer.

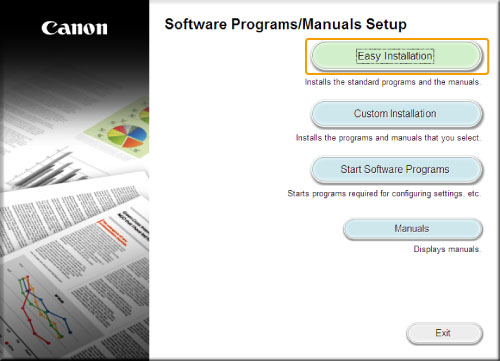
2
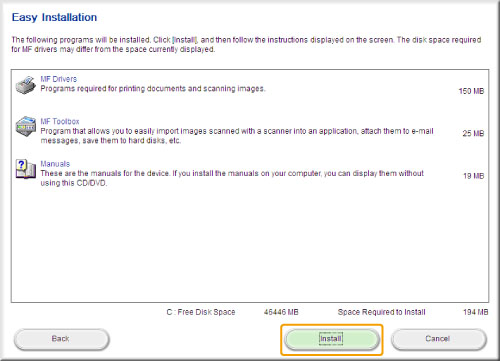
Click [Easy Installation].
 If the above screen is not displayed: If the above screen is not displayed: |
|
If the language selection screen is displayed before the CD-ROM setup screen appears: Select the language and click [OK].
|
3
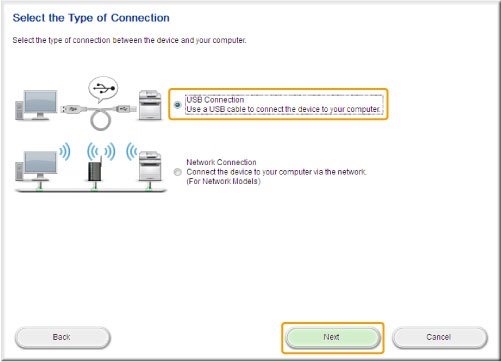
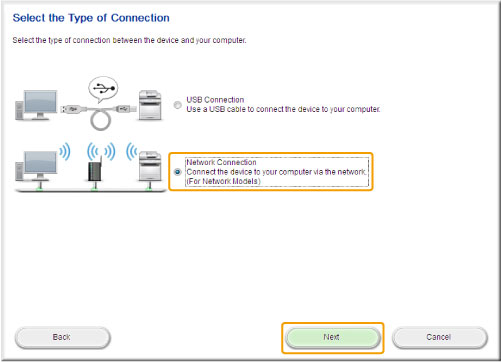
When the following screen appears, select the connection for a computer.
USB Cable Connection:
Select [USB Connection], and click [Next].
Network Connection:
Select [Network Connection], and click [Next].
Click [Install].
5
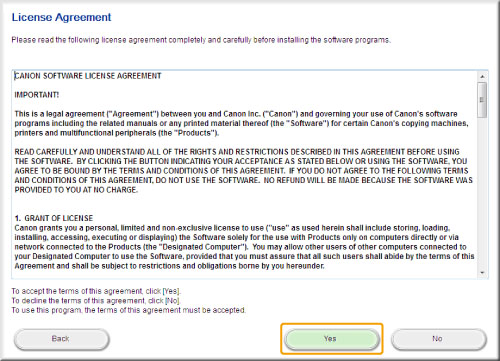
Read the License Agreement, and then click [Yes].
6
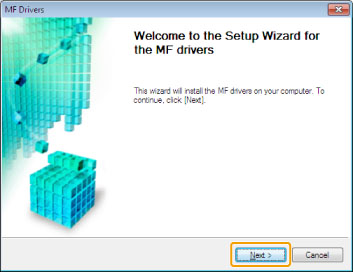
Click [Next].
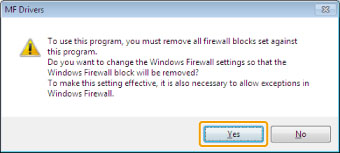
When the following screen is displayed, click [Yes].
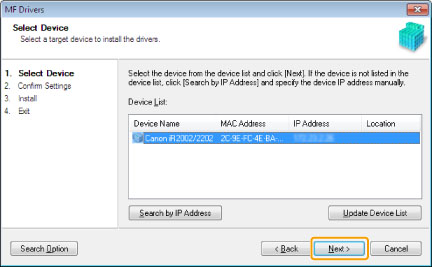
Select a target device to install the driver.
|
(1)
|
Select the device.
|
|
(2)
|
Click [Next].
|
|
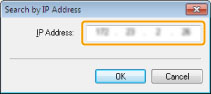
If nothing is displayed in [Device List]: Perform the following operation:
|
||||||||
|
If nothing is displayed in [Device List] even after performing the above operations, perform the following operations:
|
8
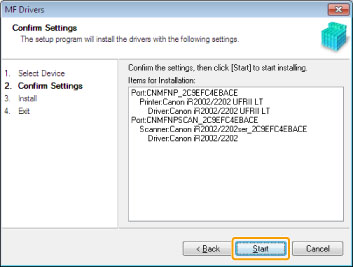
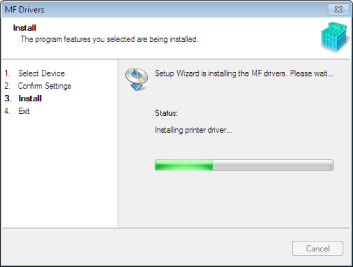
Click [Start] to start installation.
 |
 |
 |
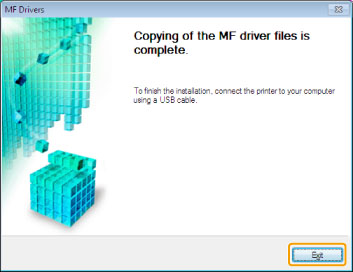
Click [Exit].
|
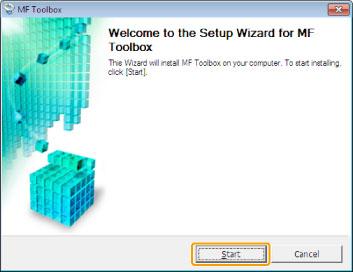
Next, the MF Toolbox installation begins.
|
10
Click [Start].
11
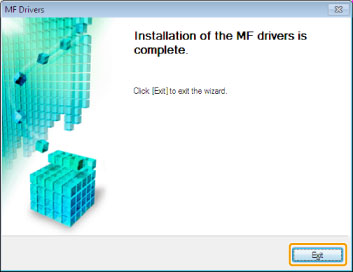
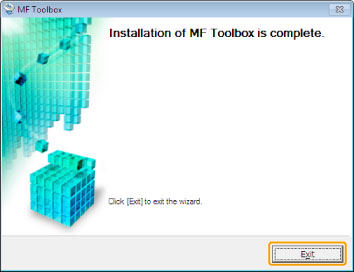
Click [Exit].
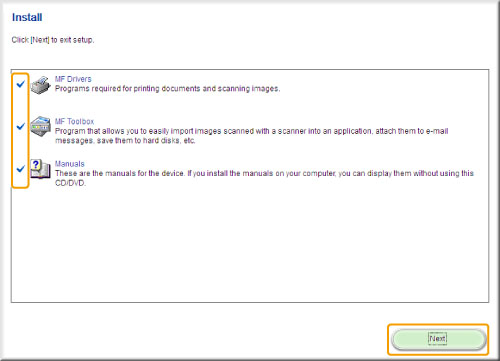
Confirm that the applications you want to install are selected, and then click [Next].
13
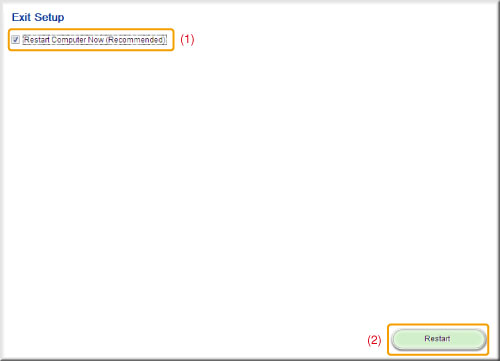
Restart the computer.
|
(1)
|
Select the [Restart Computer Now (Recommended)] check box.
|
|
(2)
|
Click [Restart].
|
|
|
If this screen is displayed, you can remove the CD-ROM from the CD-ROM drive.
|
|
If you are using a USB connection, after restarting the computer, connect the machine and computer with the USB cable included with the machine.
If you are using a network connection, check the installation results.
|
Installing with [Custom Installation]
1
Insert the User Software CD-ROM into the computer.
2
Click [Custom Installation].
|
If the above screen is not displayed: |
|
If the language selection screen is displayed before the CD-ROM setup screen appears: Select the language and click [OK].
|
3
When the following screen is displayed, select the connection method for the computer.
USB Cable Connection:
Select [USB Connection], and click [Next].
Network Connection:
Select [Network Connection], and click [Next].
4
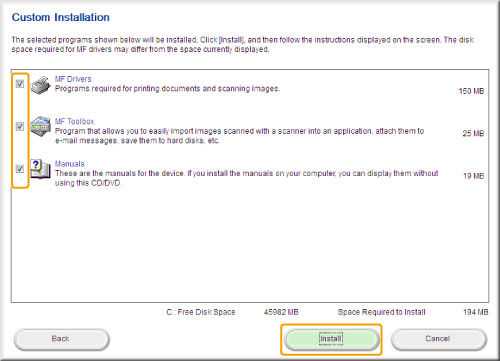
Select the software you want to install, and then click [Install].
5
Confirm the License Agreement, and then click [Yes].
6
Click [Next].
When the following screen is displayed, click [Yes].
Select a target device to install the driver.
|
(1)
|
Select the device.
|
|
(2)
|
Click [Next].
|

|
If nothing is displayed in [Device List]: Perform the following operation:
|
||||||||
|
If nothing is displayed in [Device List] even after performing the above operations, perform the following operations:
|
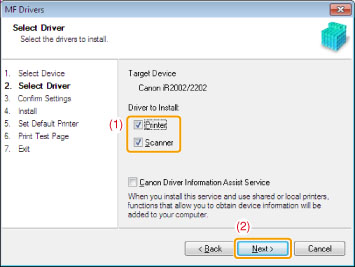
Select the functions you want to use.
|
(1)
|
Select the functions (drivers to install) you want to use.
|
|
(2)
|
Click [Next].
|
|
[Printer]
|
Select this to use the Print function.
|
|
[Scanner]
|
Select this to use the Scan function.
|
9
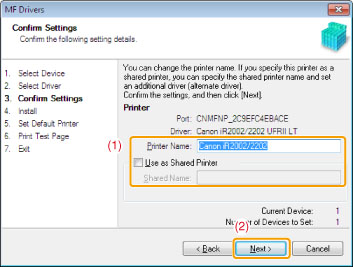
Set the printer information.
|
(1)
|
Set each item as required.
|
|
(2)
|
Click [Next].
|
Printer information*1
 |
|
*1
|
This is only displayed if you selected [Printer] in step 8.
|
|
[Printer Name]
|
Enter the new name here if you want to change the printer name.
|
|
[Use as Shared Printer]
|
Select this if you want to share this printer.
|
|
[Shared Name]
|
Change this as required if you want to share this printer.
|
10
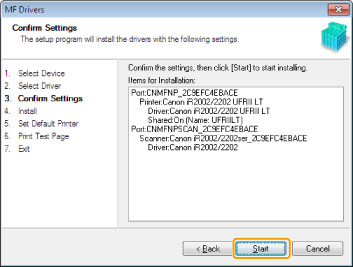
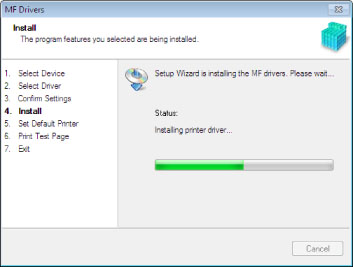
Click [Start] to start installation.
 |
|
 |
11
Select a printer as the default printer.
|
(1)
|
Select a printer from the list.
|
|
(2)
|
Click [Next].
|
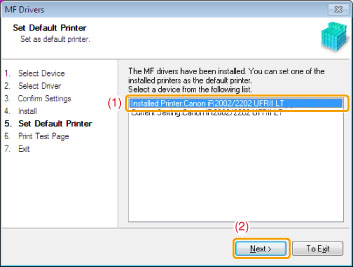
12
Select a printer as the default printer.
|
(1)
|
Select a printer from the list.
|
|
(2)
|
Click [Next].
|
Click [Exit].
|
Next, the MF Toolbox installation begins.
|
14
Click [Next].
The screen to set the MF Toolbox installation destination, and to set where in the [Start] Menu to add the MF Tool Box to, is displayed.
Perform the settings in each screen, and then click [Next]. Click [Start] on the screen that is displayed.
15
Click [Exit].
|
Next, the software selected in step 4 is installed. Follow the instructions on the screen.
|
Confirm that the applications you want to install are selected, and then click [Next].

17
Restart the computer.
|
(1)
|
Select the [Restart Computer Now (Recommended)] check box.
|
|
(2)
|
Click [Restart].
|
|
|
If this screen is displayed, you can remove the CD-ROM from the CD-ROM drive.
|
|
If you are using a USB connection, after restarting the computer, connect the machine and computer with the USB cable included with the machine.
If you are using a network connection, check the installation results.
|
USB Cable Connection (Only when connecting with USB)
1
Connect the USB cable.
|
Flat end (A):
|
Connect this end to the USB port on the computer.
|
|
Square end (B):
|
Connect this end to the USB port on the machine.
|

|
If a dialog box is displayed: Follow the instructions on the screen to complete the installation.
|
|
Check the installation results after installation is completed.
|
Checking the Installation Results
Check that the MF Driver, the MF Toolbox, any additional software, and the e-Manual have been correctly installed.
Check that the icons of the installed software have been added as shown below.
|
NOTE
|
Displayed Icons:Depending on the operating system, the driver for each icon is displayed separately, or only a representative icon is displayed.
|