Inserting Underlines in Document Text
With Desktop Editor, you can insert an underline into a document as an annotation.
1.
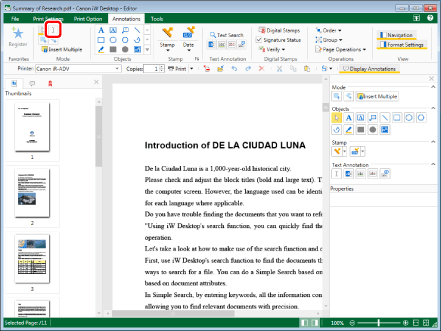
Click  (Select Text) on the ribbon.
(Select Text) on the ribbon.Or, follow one of the steps described below.
Click  (Underline) on the ribbon.
(Underline) on the ribbon.Click  (Select Text) on the Details Window
Click  (Underline) on the Details Window
|
NOTE
|
|
If the Details Window is not displayed, see the following.
This operation can also be performed with the tool buttons on the toolbar. If tool buttons are not displayed in the toolbar of Desktop Editor, see the following to display them.
When you want to insert underlines multiple times, double-click
Perform one of the following operations to cancel the button selection.
Click the selected button on the Details Window again
Click another button on the Details Window
Click a command on the ribbon
Press the [Esc] key on the keyboard.
You can click
 (Insert Multiple) on the ribbon to insert multiple annotations. For more information, see the following. (Insert Multiple) on the ribbon to insert multiple annotations. For more information, see the following. |
2.
Drag the mouse pointer on the Work Window to select the string to insert the underline in.
When the cursor passes over a selectable text string, the shape of the mouse pointer changes to  .
.
If you clicked (Select Text) in step 1, proceed to step 3.
(Select Text) in step 1, proceed to step 3.If you clicked (Underline) in step 1, an underline is inserted in the text string, and underline properties are displayed on the Details Window. In this case, proceed to step 4.
(Underline) in step 1, an underline is inserted in the text string, and underline properties are displayed on the Details Window. In this case, proceed to step 4.|
NOTE
|
|
To cancel the insertion process, do one of the following.
Click
 (Select Object) on the ribbon (Select Object) on the ribbonClick
(Select Text) on the ribbonClick
 (Grab Mode) on the ribbon (Grab Mode) on the ribbonClick the command selected on the ribbon again
Click
Click
Click
Click the selected button on the Details Window again
|
3.
Click (Underline) on the ribbon.
(Underline) on the ribbon.Or, follow one of the steps described below.
Click (Underline) on the Details Window
Right-click and select [Underline].
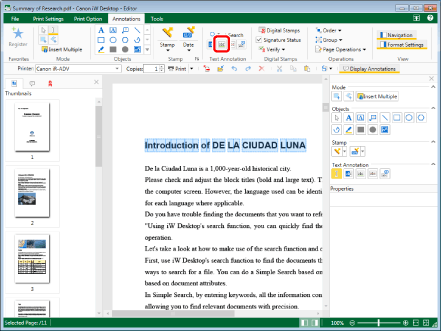
An underline is inserted into the text, and the underline properties are displayed on the Details Window.
|
NOTE
|
|
If the Details Window is not displayed, see the following.
This operation can also be performed with the tool buttons on the toolbar. If tool buttons are not displayed in the toolbar of Desktop Editor, see the following to display them.
|
4.
Configure the properties of the underline.
|
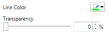
[Line Color]
|
Select the line color you want to use from the list displayed when you click
|
|
[Transparency]
|
The slider position and the numeric value (%) indicate the degree of transparency of the underline. To change the degree of transparency, move the slider to left or right, or enter a numeric value. You can specify the degree of transparency in units of 1% by using
|
|
NOTE
|
|
If you select [More Colors] in [Line Color], the [Color] dialog box is displayed and you can set a color that is not listed in [Line Color].
You can also configure the properties of the annotation with the following command.
 (Line Color) (Line Color)If commands are not displayed on the ribbon of Desktop Editor, see the following to display them.
This operation can also be performed with the tool buttons on the toolbar. If tool buttons are not displayed on the toolbar of Desktop Editor, see the following to display them.
|
5.
Click on the Work Window outside the underline you inserted to deselect the underline.