Inserting Mail Merge Fields
This section describes how to place a Mail Merge field on a page.
Mail Merge fields are divided into two types of field, those in which text is replaceable (text fields), and those in which images are replaceable (image fields).
|
NOTE
|
|
Inserting text fields and image fields into a page causes the fields to appear in the thumbnail on the Navigation Window.
|
Inserting Text Fields
This section describes how to insert text fields.
The following two methods are available for inserting text fields.
|
NOTE
|
|
You can insert text directly into a text field.
|
Inserting Fields from [Database]
This section describes how to insert a text field from [Database] on the Details Window.
|
NOTE
|
|
When inserting text fields from the database, you must first open the database. For information on how to connect to a database, see the following.
|
1.
Select the field you want to insert from [Field List] in [Database] on the Details Window.
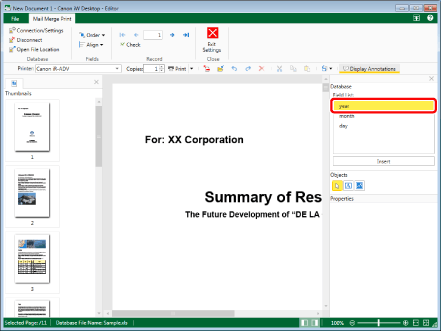
2.
Click  .
.

A text field is inserted.
|
NOTE
|
|
The text field is inserted in the middle of the display.
|
3.
Click on the Work Window outside the text field you inserted to deselect the text field.
The value of the current record is displayed in the text field.
|
NOTE
|
|
For information on how to display another record, see the following.
|
Inserting Empty Text Fields
This section describes how to insert a blank text field.
1.
Click  (Text Field) on the Details Window.
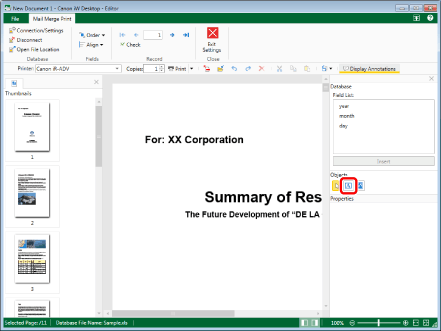
The properties of the text field are displayed on the Details Window.
2.
Configure the properties of the text field.
For more information on text field properties, see the following.
3.
Move the mouse pointer to the Work Window.
The shape of the mouse pointer changes to  .
.
4.
Drag the mouse selection rectangle to specify the size of the text field on the Work Window.
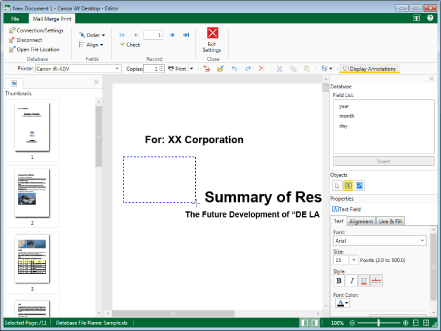
A text field is placed.
To insert a field in the text field that was placed, proceed to step 5.
5.
Select the field you want to insert from [Field List] in [Database].
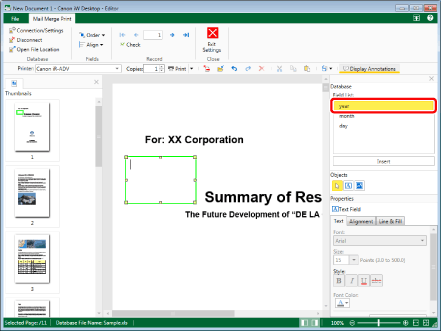
6.
Click .

A field is inserted in the text field.
7.
Click on the Work Window outside the text field you inserted to deselect the text field.
The value of the current record is displayed in the text field.
|
NOTE
|
|
For information on how to display another record, see the following.
|
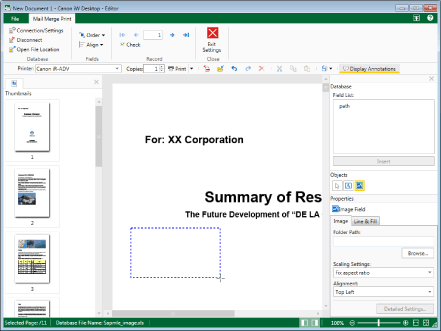
Inserting Image Fields
This section describes how to insert image fields.
In order to display images in image fields, the following two settings are required:
Insert a field that corresponds to the image from the database into the image field.
Set the path to the folder that contains the image in the image field.
|
NOTE
|
|
The following file types can be inserted in image fields.
BMP (*.bmp)
TIFF (*.tiff/*.tif)
JPEG (*.jpg/*.jpeg)
PNG (*.png)
GIF (*.gif)
The types of image files that can be inserted to image fields may increase, depending on the codecs installed in your computer.
|
1.
Click  (Image Field) on the Details Window.

The properties of the image field are displayed on the Details Window.
2.
Configure the properties of the image field.
For more information on image field properties, see the following.
3.
Move the mouse pointer to the Work Window.
The shape of the mouse pointer changes to .
4.
Drag the mouse selection rectangle to specify the size of the image field on the Work Window.
An image field is placed.
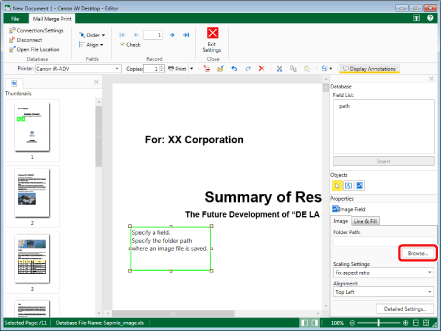
5.
Click [Browse] on the [Image] tab of the Details Window, and specify the folder where the image to insert is saved.
Or, enter the path of the folder where the image to insert is saved in [Folder Path].
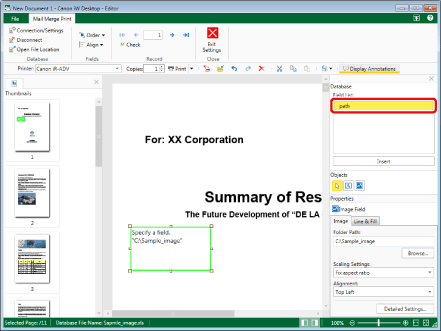
6.
Select the field of the image you want to insert from [Field List] in [Database].
7.
Click .
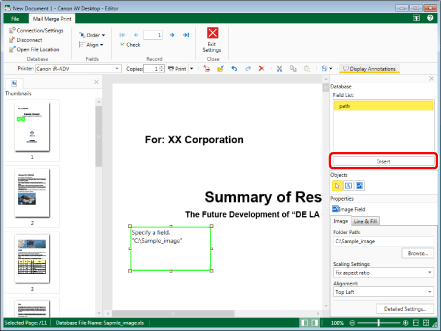
The image of the current record is displayed in the image field.
|
NOTE
|
|
If the image field was configured correctly, the following is displayed when the image field is selected.
The field name
The folder path of the image file
The image corresponding to the record
If the image field has been copied and pasted, the following occurs according to where the image field was pasted.
If the image field was pasted to the Work Window: The image field is pasted with its settings retained.
If the image field was pasted to somewhere other than the Work Window: The file path set in the image field is pasted as plain text.
If the image field is not set, the following message is displayed in the image field.
Specify a field.
Specify the folder path where an image file is saved.
|
8.
Click on the Work Window outside the image field you inserted to deselect the image field.
|
NOTE
|
|
For information on how to display another record, see the following.
|