Configuring the Output Paper Size on a Chapter Basis
If 1-sided printing is configured for the entire document but the following print settings and paper settings are not configured, you can configure the different output paper size only for the specified chapter.
Stapling
Hole Punching
Cover/Back Cover/Tab Paper/Sheets
|
NOTE
|
|
For more information on how to configure the output paper size for the entire document, see the following.
For more information on how to configure 1-sided or 2-sided print settings for the entire document, see the following.
For more information on how to cancel the settings on a chapter basis, see the following.
|
1.
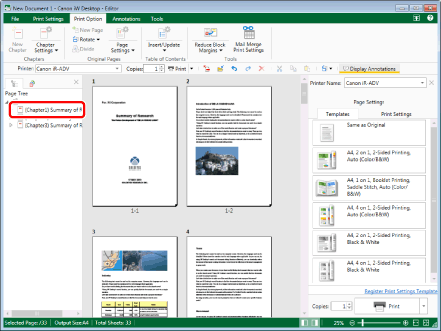
Select  (Chapter) for the chapter to specify the output size settings for on the [Page Tree] tab on the Navigation Window.
|
NOTE
|
|
If the [Page Tree] tab on the Navigation Window is not displayed, see the following.
|
2.
Click  (Chapter Settings) on the ribbon.
(Chapter Settings) on the ribbon.Or, follow one of the steps described below.
Click  for
for  (Chapter Settings) on the ribbon, and select [Chapter Settings]
for (Chapter Settings) on the ribbon, and select [Chapter Settings]Click  (Chapter Settings) on the ribbon
(Chapter Settings) on the ribbonRight-click and select [Chapter Settings]
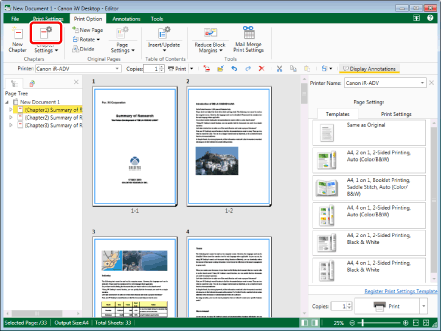
The [Chapter Settings] dialog box is displayed.
|
NOTE
|
|
If commands are not displayed on the ribbon of Desktop Editor, see the following to display them.
This operation can also be performed with the tool buttons on the toolbar. If tool buttons are not displayed on the toolbar of Desktop Editor, see the following to display them.
|
3.
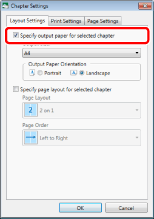
Select the [Specify output paper for selected chapter] check box on the [Layout Settings] tab.
4.
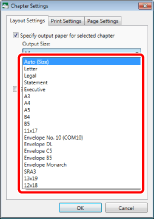
Select the output paper size from the [Output Size] pull-down list.
5.
Click [OK].
The chapter icon displayed on the [Page Tree] tab on the Navigation Window changes to  and the chapter name changes to blue.
|
NOTE
|
|
The status bar shows the specified output paper size for the entire document.
The items that can be selected for the output paper size vary according to the type of printer selected in [Printer].
When the output paper size is set to [Auto (Size)] for the entire document or each chapter and the [Specify page layout for selected chapter] check box is not selected, if you set the page layout to a value other than [1 on 1] for the entire document, the output paper size set for the chapter is disabled.
If you set the output paper size to something other than [Auto (Size)] for a document including different page orientations or sizes, pages of which the orientation/size is different from the orientation/size of the current paper are automatically enlarged or reduced to fit the paper width (they are not automatically rotated).
When [Auto (Size)] is selected as the output paper size setting, the operation that is performed differs according to the [Select Paper Size] setting.
[File] menu > [Option] > [System Settings] > [Common Settings] > [Print/Fax] > [Select Paper Size]
When using Custom Paper Type, it must be registered in the printer selected in [Printer] in advance. You can temporarily register a custom paper size depending on the printer you are using. In this case, if the paper size corresponding with the original size is not registered in the printer, you can temporarily register a custom paper size and print the document using the registered custom paper size, even when this check box is not selected.
|