Renaming Chapters
When you create a document, chapters are created with their original document names.
You can rename chapters on the [Page Tree] tab on the Navigation Window.
If you rename a chapter, the change is reflected on the tab area of the tab sheet or the header/footer where the chapter name is configured.
|
NOTE
|
|
For more information on how to configure the chapter name in the tab area of the tab sheet, see the following.
For more information on how to configure the chapter name in the header/footer, see the following.
|
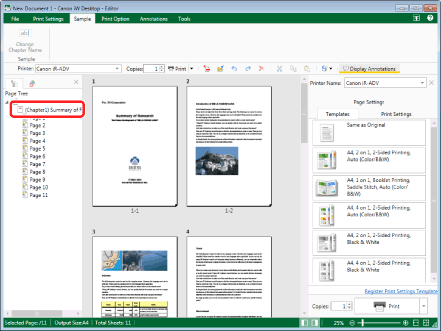
1.
Select  (Chapter) for the chapter to rename on the [Page Tree] tab on the Navigation Window.
|
NOTE
|
|
If the [Page Tree] tab on the Navigation Window is not displayed, see the following.
|
2.
Click  (Change Chapter Name) on the ribbon.
(Change Chapter Name) on the ribbon.Or, follow one of the steps described below.
Right-click and select [Change Chapter Name]
Click (Chapter) again
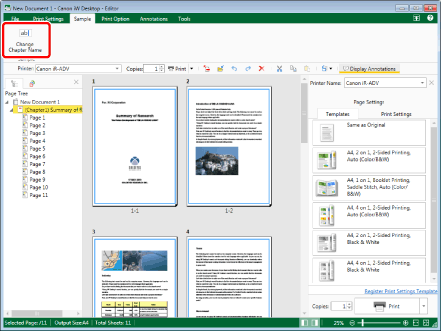
The chapter name becomes editable.
|
NOTE
|
|
If commands are not displayed on the ribbon of Desktop Editor, see the following to display them.
This operation can also be performed with the tool buttons on the toolbar. If tool buttons are not displayed on the toolbar of Desktop Editor, see the following to display them.
|
3.
Rename the chapter.
|
NOTE
|
|
Name the chapter using up to 128 characters.
|
4.
Press the [Enter] key on the keyboard.
|
NOTE
|
|
Tab characters are replaced with space characters.
You can undo or redo the last operation by selecting the [Undo]/[Redo] tool button.
|